12 Mar 2018

The Magical Tree


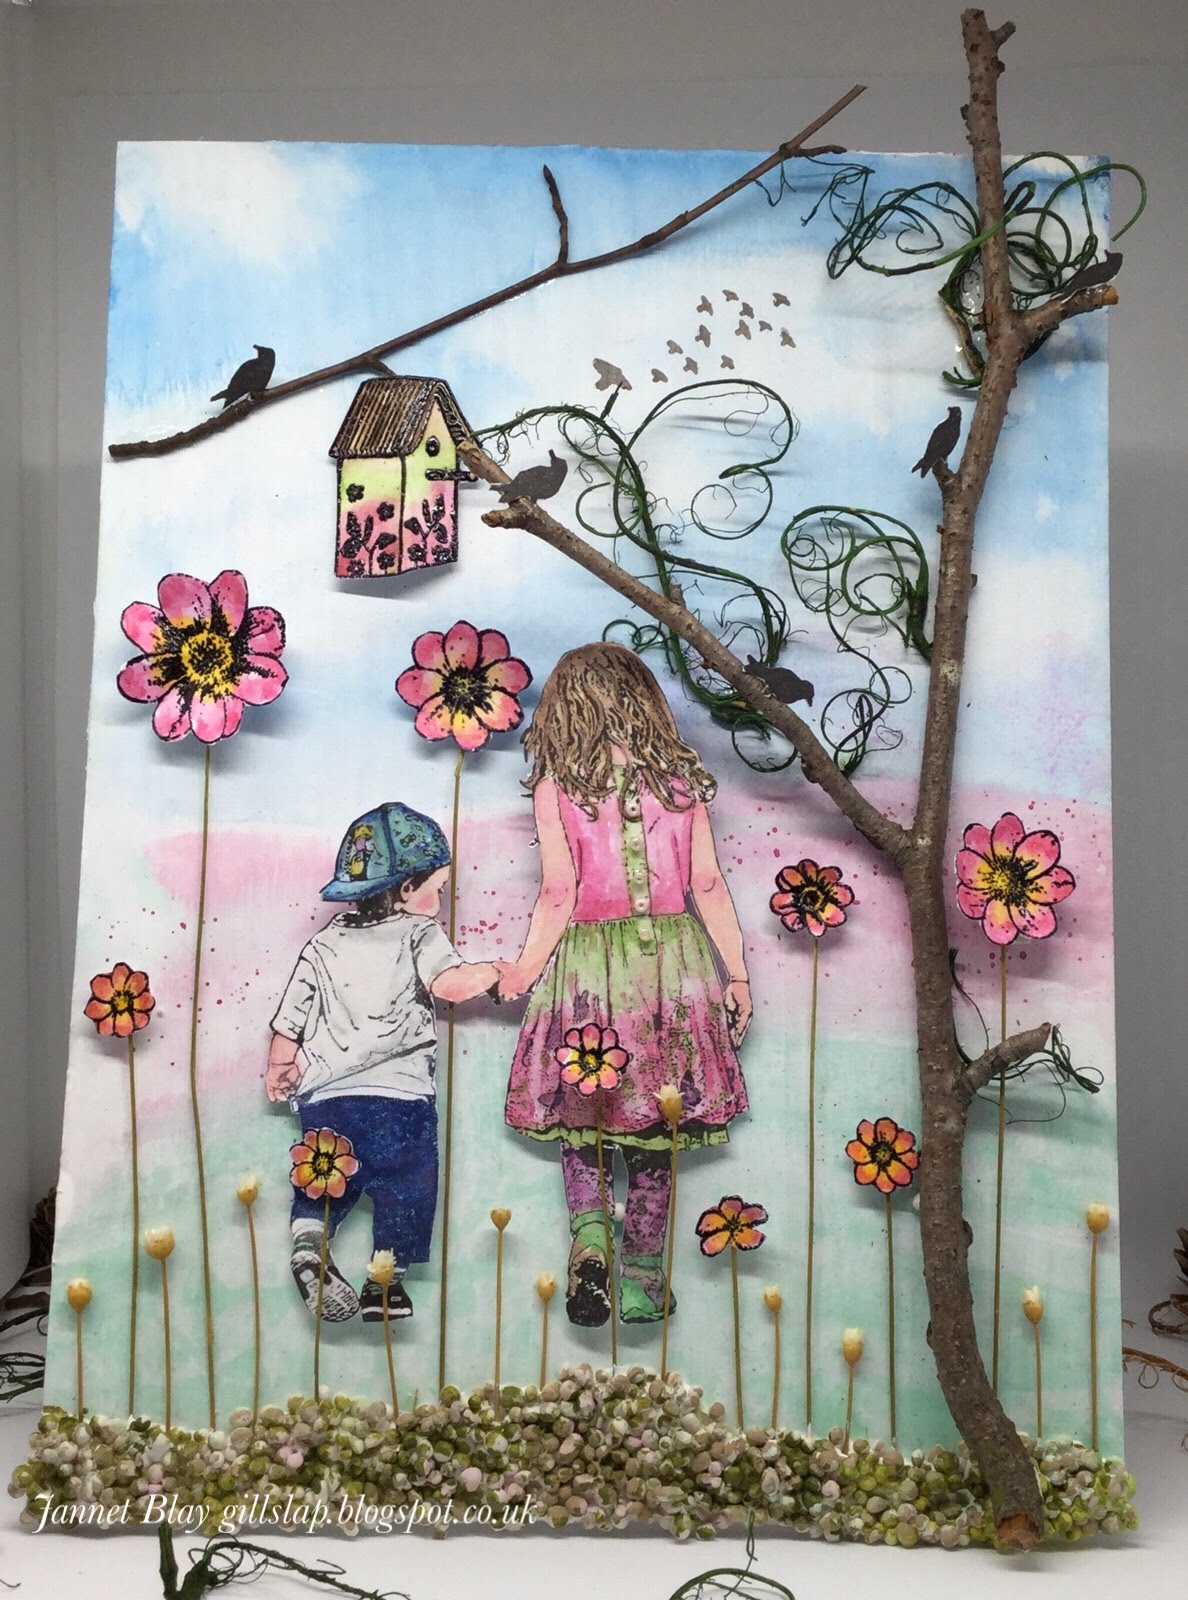
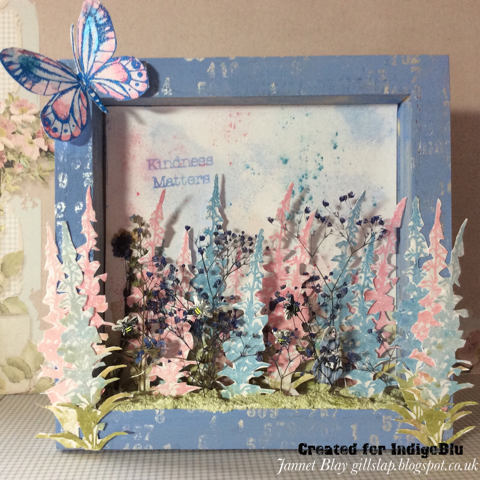
Hello, today I am continuing my story, which I started before Christmas with Lavinia Stamps.  I created the card using Lavinia Stamps and die cuts, Distress Oxide inks. and lots of love. 

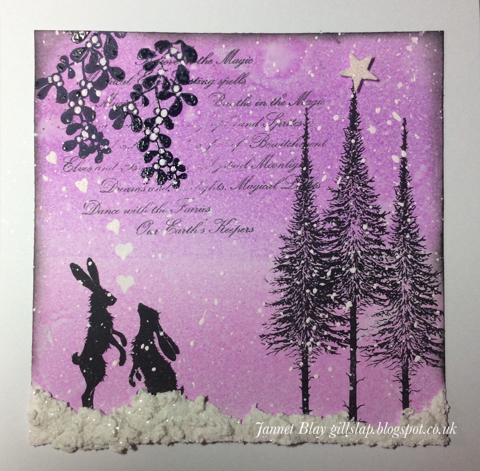
The young hare had been desperately searching for the beautiful lady hare he had kissed under the mistletoe on Christmas Eve. He had searched every inch of the forest, but could not find her, and he was very, very sad. 
Then one bright morning in early March, he spotted her just the other side of the magical tree which stood on the very edge of the forest. 
He rushed towards her, “where have you been” he called. 
“ I have been very poorly” she replied “ I had to go  to the Hare hospital”  
“Are you alright now?”.he asked anxiously.
“I am better than I was , but em... well I won’t be... well not exactly like I was  before”.she replied with great sadness in her heart. “I can’t do all of  the things normal hares can do, and my life will be very different and difficult”
“You will Always be perfect to me” replied the young hare, and held her in his paws  and kissed her gently on her cheek.....

Thank you for visiting, I would like to enter this into the Penny Black and Stamping Sensations challenges. 

10 Mar 2018

Live Every Moment


Hello how are you today?
I originally created this little scene in my art journal, for once I actually quite liked the way it came out, and of course the sentiment is wonderful. 
When I saw that Country View Challenges theme this month was to make a postcard, I thought I would try to recreate it to fit onto a postcard. The gorgeous stamp is drawn by the very talented Phyllis Harris and manufactured by Unity Stamps 

The original page in my Art Journal.


9 Mar 2018

Walkies with Crafty Individuals


I am sharing another of my projects which I made for Crafty Individuals, this one features their gorgeous Winter Walkies stamp.I of course love this stamp as it features a lovely doggie!
How I created it.
I used a 4 inch deep frame and made a Watercolour background and stamped birds and branches onto the top and sides. I stamped and fussy cut the lovely  Walkies characters and coloured them.I also  added some flowersoft for the girls fluffy collar and for the Pom Pom on the hat. I also added some glossy accents onto the boots. I used some thin twine for the dogs lead. I added texture paste into the base and embedded the girl and various twigs, dried flowers and art stones. The art stones are wonderful, but oh my,goodness they do get absolutely everywhere! 

Thank you so much for visiting today.

I would like to enter this into the following challenges.

7 Mar 2018

Honoured to be a Guest Artist at Crafty Individuals


I am very, very honoured to have been invited by the lovely Jean Hardy from Crafty Individuals to be a guest artist this month! I always love creating with Crafty Individuals stamps, and had lots of fun. This is a mixed media piece featuring a Spring Walk, let’s hope Spring will soon be arriving now the snow has finally gone.There is a step by Step of how I created it on the Crafty Individuals blog.I will be sharing more samples soon.


Many thanks to Jean xx

Thank you so much for stopping by.

I would like to enter this into the following challenges.

5 Mar 2018

Stamping on Rose Petals


I always seem to be finding pressed flowers inside of books, so I actually decided to carefully take them all out and lay them in a box  together. Some of my rose petals were quite large, and I wondered if I could stamp on them.... so I decided to experiment and the result is above it is all made from pressed rose petals and leaves. There are more details on the Indigoblu blog.


Thank you so much for visiting me today, I hope you are well, and are having fun crafting.

I would like to enter Stamping On Rose Petals into  the following challenges.


2 Mar 2018

Fairy Playing To The Mushrooms


Oh my goodness isn’t it cold ! Did somebody forget to tell the weather it’s March ! To take my mind of the weather I have created with this lovely Lavinia Fairy I received her for Christmas, but I have only had time to use her now. I have been busy designing with wonderful stamps. and I am of course very happy and grateful for that. 

 I have at last also got around to using the new Tim Holtz Distress Oxides, Only 3 colours to start with Picked Raspberry, Broken China, and Bundled Sage.I used all three to create the background for this card.I dabbed them onto my ink blending mat, and spritzed over them with water. I laid my card into the inks, and lifted it up to reveal the results, it looked like a watercoloured background. I kept dipping the card into the inky puddle until it was covered.

I stamped the fairy using a Versafine black inkpad, and coloured the flowers and mushroom die cuts with watercolours. Thank you for visiting me today, let’s hope the snow stops and it gets above freezing soon xx

I would like to enter this Fairy card into the following challenges.


16 Feb 2018

Alice In Fiskars Land


I made this 3d scene for one of my Fiskarettes UK design team posts.I love Alice in Wonderland! I have had a set of little wooden tables for ages, but I have never used them! So I finally decided I would put one together, and then continued to have a lot of fun creating the Alice scene around it. 

The Fiskars 3 in 1 tag maker is brilliant it easily cuts through shrink plastic! After punching it out I wrote ”Drink Me” onto it before shrinking it and tying it around the minature bottle. I then punched out a lots of hearts and painted them red, and glued them vertically up from the top of the table.The  circle punch was really useful to punch out a clock from some patterned paper, and I also used the beautiful butterfly punch to perch a butterfly on the edge of the  table.
I finished by adding some small playing cards which came out of  a Christmas cracker, and lots of other embellishments such as a hanging key, a pot etc etc

The lovely Alice stamp is made by Carabelle Studio

Thank you so much for visiting.

I would like to enter Alice In Fiskars Land into the following challenges.
Artistic Stamper Use Red

13 Feb 2018

Happy Valentines Day and Winner Announcement.

Happy Valentines Day !

Thank you to everyone who entered the giveaway. The Winner of the four stamps as chosen by Random.org is.......


Craftychris

Congratulations ! Please email me at gillslapATyahoo.co.uk with your details and I will post the stamps off  to you. xx

I will be having another giveaway at Easter time, there may even be some chocolate included ! 


5 Feb 2018

Love Letters


I must apologize for not posting very much so far this year, but I have been in hospital. I am feeling much better now and I am happily back to crafting and getting all inky : )

Well February has snuck up on us, and that of course means all things love for Valentines. For my first Indigoblu project this month I decided to decorate these wooden letters, unfortunately I didn’t have a matching ”O” but I found a slightly larger papier mache one. I hope it works.... a few more details as are on the Indigoblu blog.

Thank you so much for stopping by today, I hope you are well and having lots of fun crafting. I have lots to catch up on. When I was resting I enjoyed watching all of the Creativation videos, it looks like there is lots of lovely new goodies coming out soon.I have never tried distress oxides, I really must, the new Tim Holtz resist spray looked interesting too. Did you spot anything, you are hoping to try? 

I think I am getting the hang of the followers button thingy now, and I am happily following lots of blogs. Thank you and a very warm welcome if you have become a follower, I hope that you will enjoy your visits. Please leave me a comment as I would love to visit your blog too xx


There is still time to win some fabulous Indigoblu stamps, click here for more information.

I would like to enter my Love Letters into the following challenges.
A Vintage Journey Melt it - Lots and lots of embossing powder on the letters!
Penny Black Love, Hearts, Flowers
Stamping Sensations Anything With Flowers

18 Jan 2018

Floral Notebook


Hello, and if this is your first time here a very warm welcome to you! I hope you will enjoy your visit, please leave me a comment as I would love to visit your blog too. I hope you have escaped all of the nasty winter bugs going around, I am so looking forward to the spring! 
Today I would like to share my Floral Notebook with you, which I created for Indigoblu. Indigoblu make amazing, unique and very high quality rubber stamps which are all manufactured right here in the UK. Their new floral stamps are just gorgeous and are a joy to colour !

This is how I created my notebook. 


I removed some pages from an old book, this one happened to be “Wind In The Willows” I tore the pages into large strips, and adhered them  to both sides of the  notebook covers using Super Thick Slap It On.


Using a Versamarker ink pad I stamped the flowers and heat embossed them with brown embossing powder.
After colouring the flowers with Indigoblu paints I fussy cut them.I added some Mulberry Bush (this is my new favourite colour) paint to the edges of the notebook.I used sticky foam pads to adhere the flowers to the cover.I also added some pressed flowers to the cover.


I tied ribbons and twine to the book rings, and then stamped the anemones on the bottom of each of the inside pages.


Please visit the Indigoblu blog to see Mike Deakin’s Project this month too

Thank you for visiting.I would like to enter this into the following challenges
Country View Challenges Anything Goes 


If you would like a chance to win these fabulous 4 Indigoblu stamps just click here to find out more

15 Jan 2018

Win An Indigoblu Set of 4 Limited Edition Stamps!


With the kind help of the wonderful Elizabeth Robinson I have finally added a followers button to my blog! I am a bit late doing this, but only by a few years !! 

To celebrate Indigoblu are very generously allowing me to give away a fantastic Indigoblu  1st edition of The Collector’s  Edition Stamps (see above) they are just fantastic, my favourite is the bubbles!
If you would like a chance to win this wonderful set of 4 stamps it would be nice if you were to follow this blog, and leave me a little comment below. The winner will be picked by a random generator on Valentines Day, so there is plenty of time to join in.Good Luck! 

Below are a few of my projects using the stamps.


10 Jan 2018

Fiskarettes Design Team Reach For The Stars


I am very happy and honoured to reveal today that I have joined the talented Fiskars UK Design Team. I will be creating with them for the next 3 months. I have been crafting since I was old enough to use scissors, and I have always used Fiskars scissors and trimmers. I have found them to be of the highest quality and never let me down.

My first project for Fiskarettes UK is ‘Reach For The Stars”

I painted the box frame in a metallic white paint and punched stars out of masking paper and placed them over the top. I then painted over the frame in blue paint, and when dry I  removed the stars.

For the hills I used the circle punch and folded them in half and overlapped them, adhering them together.I covered the hills in texture paste before painting them.

I used invisible thread to hang  one of the glittery stars from the inside top of the frame

The lovely girl Stamp is drawn by the amazingly talentedPhyllis Harris and made by  Unity Stamps 


Thank you for visiting and Happy 2018 xx


I would like to enter “Reach For The Stars” into the following challenges
Country View Challenges Anything Goes 

5 Jan 2018

Pegasus

Pegasus has flown to the  Indigoblu blog today, to wish you all a very happy and magical New Year.
I love the new Pegasus Stamp, he is just gorgeous and there are so many different ways to use him, so 
I think he will be featuring a lot in my future projects!  Please visit the Indigoblu blog if you would like more details about how I made this card.
 

I would like to enter Pegasus into the following challenges,
Emerald Creek Dares  New to you the lovely Pegasus is new to me 

1 Jan 2018

Happy 2018 !

Wishing all of my friends and fellow crafters a very happy and above all a healthy New Year.I have some exciting news to share sometime in early January about my crafting adventures....
I also hope to be doing some giveaways on my blog in the new year, so please sign up to be kept updated on the latest news.


24 Dec 2017

Merry Christmas


“What does that beautiful star on top of the tree mean?”asked the curious hare

“It means that Jesus Christ our Lord has been born” replied the proud stag.


“When shadows fill our day

Lead us to a place

Guide us with your grace

Give us faith so we'll be safe”


I would like to thank everyone for all of your kindness and support. 


Merry Christmas xxx


Matthew 7:12; 'So whatever you wish that others would do to you, do also to them, for this is the Law and the Prophets.

Meeting Under The Mistletoe


If you remember my story from 12th December about the hare waiting under the mistletoe, this is the next installment.


For the next 11 days he continued to wash and fluff himself, and travelled to the three pines, to stand hopefully under the mistletoe.. but nobody ever came.


On the 12th day which also happened to be Christmas Eve, he decided this would be his very last visit. He hopped along with hope forever in his heart. As soon as he turned the corner into the three pines he saw the most beautiful and dazzling lady hare waiting patiently under the mistletoe.

She was waiting just for him....

18 Dec 2017

Deer Globe


Hello how are your Christmas makes going - not long until the big day now.I have been playing with Luscious powders, Indigoblu Winterland Wood Stamp Set and a round spice jar !


 I used a glue called “special glue”  it is very thin, and is used for Glass & Plastic Baubles

I poured a small amount into the  spice jar, and rolled it around the back and sides of the jar.


I selected my Luscious colours and placed a small amount on a thin strip of card and shook it into the jar. 


I used  the smallest deer from the Winterland Wood Set and stamped him onto card and fussy cut him.


I then spooned some fine texture paste into the cork lid and stood the deer, and some dried flowers into it, and followed with a sprinkling of Unicorn Sparkles.


I addied a finishing touch by plaiting some Raffia and then tied it around the cork lid.Then with great care I pushed the deer into the jar and pushed the cork lid shut.


Thank you for visiting me today, please take a look at the Indigoblu blog to see what other creations the talented team have come up with.


16 Dec 2017

Fairy Christmas Tree


Well our Christmas tree is finally up, and so far this year it has stayed up! We have a much stronger and easier base for it now, so fingers crossed !There are a lot of mischevious  fairies on our tree....


A quick and easy Christmas card, this time using Lavinia Stamps. I created the background with Dye inks, and used Texture Paste mixed with ultra fine glitter for my snow. I heat embossed the snowy white snowflakes, then coloured and glittered the die cuts.  

Thank you for visiting, I hope your Christmas plans are all going smoothly xx

 photo copyright.jpg
blogger template by envye