19 Jul 2019

Bubble background


Hello how are you today? I have been playing with bubbles which is always fun, and this time it was crafting too! I was experimenting with making bubbly backgrounds. I have tried this before without much success. This time was a little more successful, so I thought I would share my discoveries.


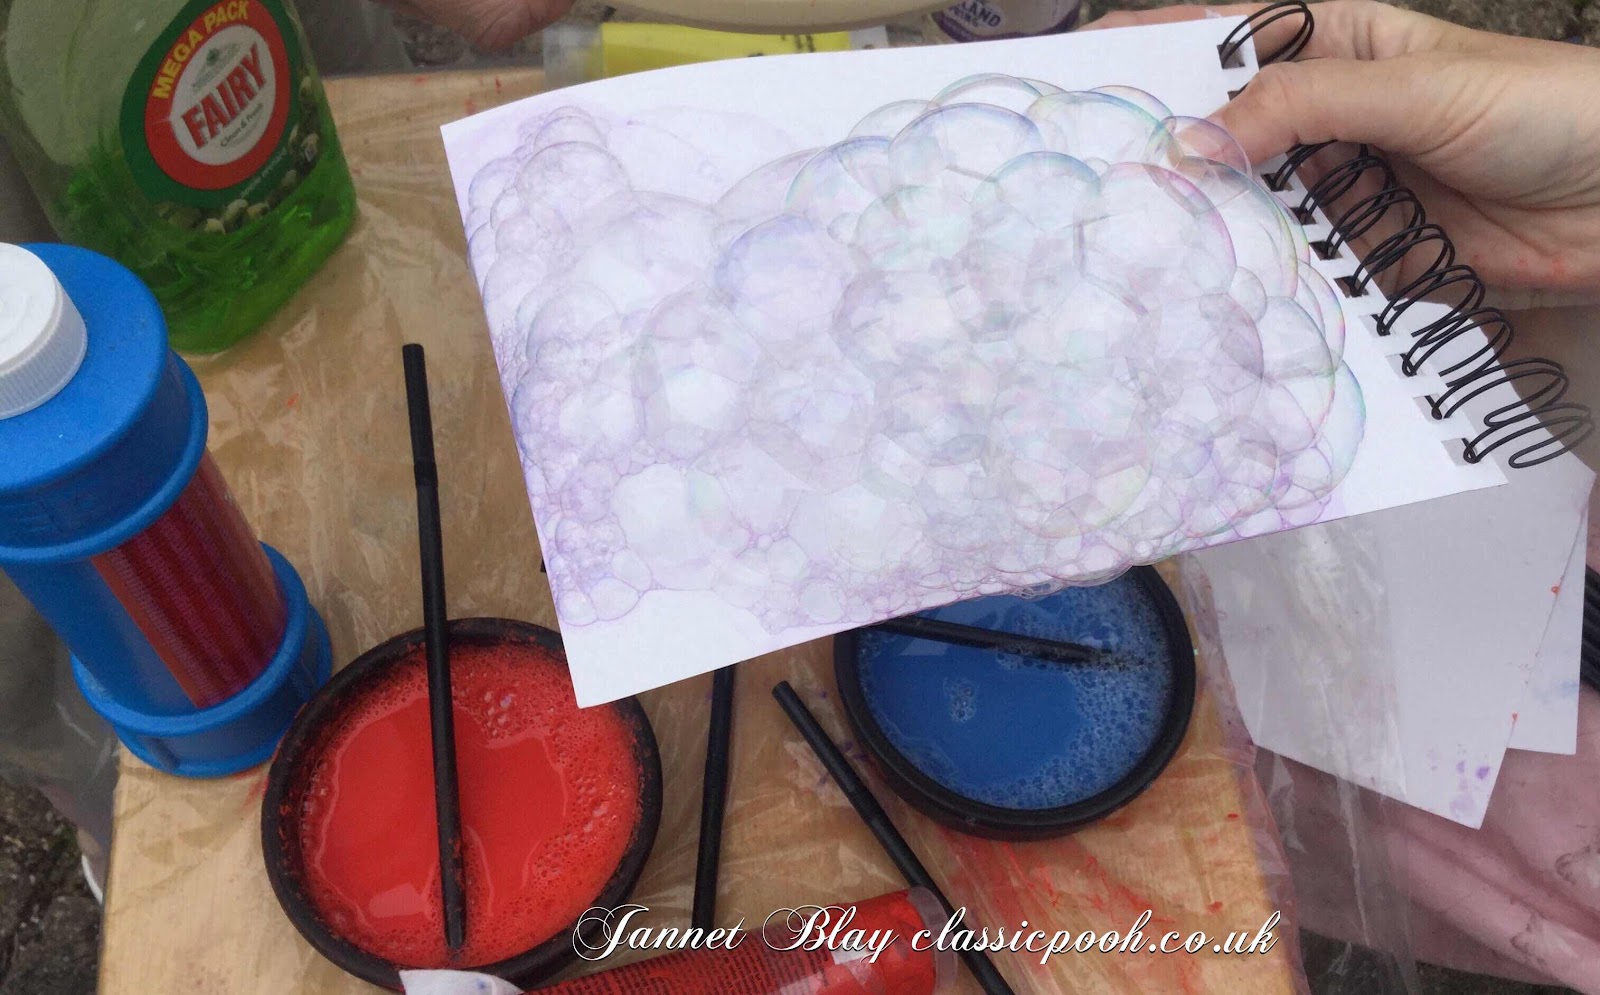
I began by putting some inexpensive acrylic paint in a shallow bowl, and adding some fairy liquid and water. I used a straw to blow into the colourful liquid to make bubbles. I soon discovered that I needed a lot more paint, fairy liquid and water than I thought I did. After adding more the bubbles overflowed the top of the bowl, hurrah! I lowered my Mixed Media paper onto the bubbles, but this was not too successful. So I went with a scooping motion, and scooped the bubbles up onto the paper and left them to pop naturally.


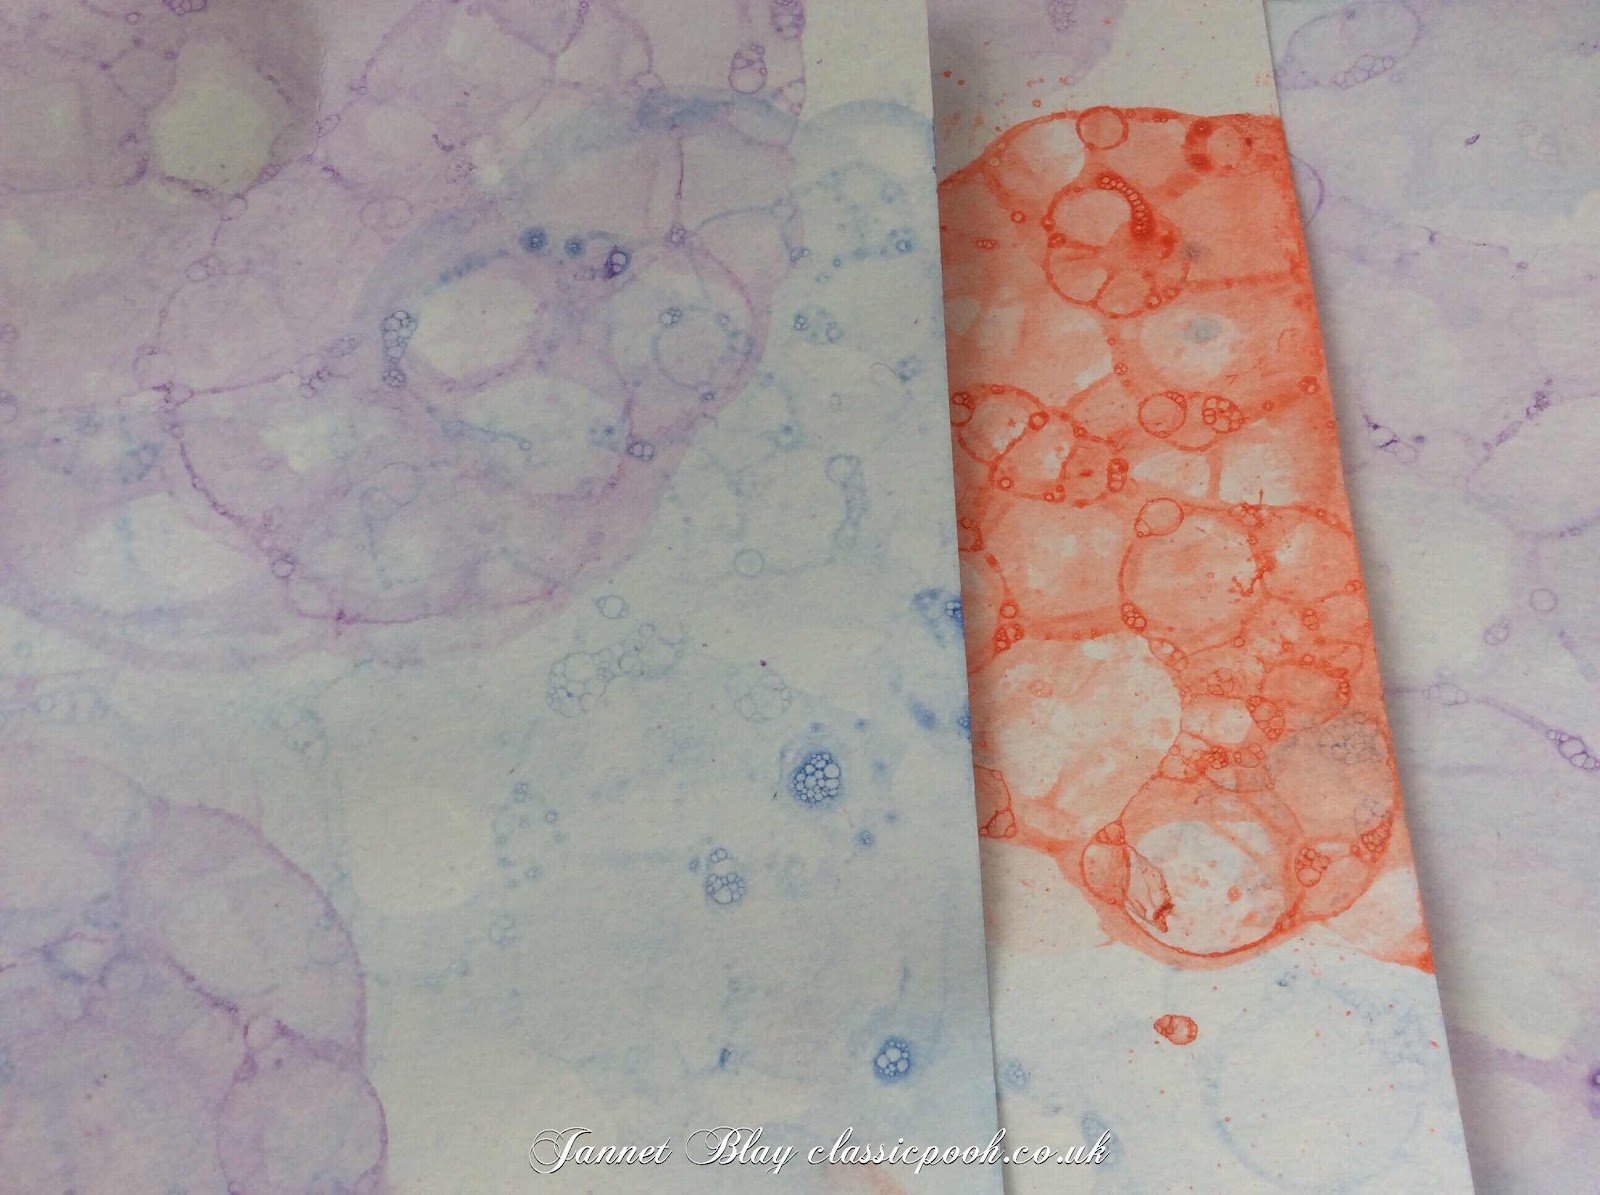
This was a lot more successful! I only used red, blue and a purple, but I will try more colours next time. 

I hope I have inspired you to play with bubbles and make some bubbly backgrounds xx

I would like to enter this card into the Craft Stamper Challenge Anything Goes and 
Paperbabe Anything Goes


6 Jul 2019

Happy Alice In Wonderland Day !


Happy Alice In Wonderland Day! You can find more details about this special day here 

To celebrate the day I have made this tea party scene. I used Alice and the White Rabbit which I made with air drying clay used in a mould. I painted them with acrylic paints. You can’t have the tea party without a Mad Hatter, so I drew him and coloured him with watercolours. 


I added lots of little Wonderland details underneath the table.I stamped a tiny Queen of Hearts playing card, and a “Drink Me “ tag to tie onto the little bottle.


I found the little tea set at Spitafields antique market, I don’t think it is actually an antique though!


I stamped some rabbit paw print marks onto the base of the table 

I must dash now as there are jam tarts to make for our Madhatters tea today, and lots  of decorations to put up. 

I would like to enter this little scene into the following challenges 


Lost Coast Designs Celebrate it

5 Jul 2019

Bear Hugs


Hello, and welcome to my blog. How are you? Today I have some Bear hugs to share with anyone who needs some.Bear hugs are the best hugs of all!


I began creating my bear hugs card, by stamping out my chosen stamps from the set. I added colour with a dash of my watercolors, and fussy cut all of the images.


To give some dimension to the  bear I used an Embossing tool on his ears, and outlined his arms and legs using it too. I adhered all the images with sticky pads which also raises them up from the card. The crown looked a little lacklustre, so I raided my bits and bobs box, and picked out some little pearls to add a touch of sparkle.

I swished some watercolours over the background card, and stamped a few starry wands in the background  too. Not forgetting to add the all important “Hugs” sentiment. 

I would like to enter  Bear Hugs card into the Craft Stamper Challenge 

3 Jul 2019

Swing on By


Hello, thank you for stopping by, and I hope you are enjoying the warmer weather.

Many thanks to Rosie from  Papercrafter for including my card above in this months fab issue. 

Sorry I did not take any step by step photos, but I have written a few lines below. 

I used the wonderful fairytale stamp set which was a cover gift on a previous issue. I  began making my card by  stamping, water colouring,  and fussy cutting my chosen images. 

I added flowersoft and some crumpled rose petals to the ropes of the swing. I press a lot of flowers, and this is the perfect time of year when  the garden is full of so many beautiful and  colourful flowers. 

I embossed the branches  and hung my swing from them. The  fairy wanted to enjoy the flowers so I stood her up on the  swing. I used sticky pads to adhere my images to the background which I had previously created with watercolours.

Thank you for visiting today.xx 


 photo copyright.jpg
blogger template by envye