Showing posts with label nature. Show all posts

24 May 2021

Hare Again


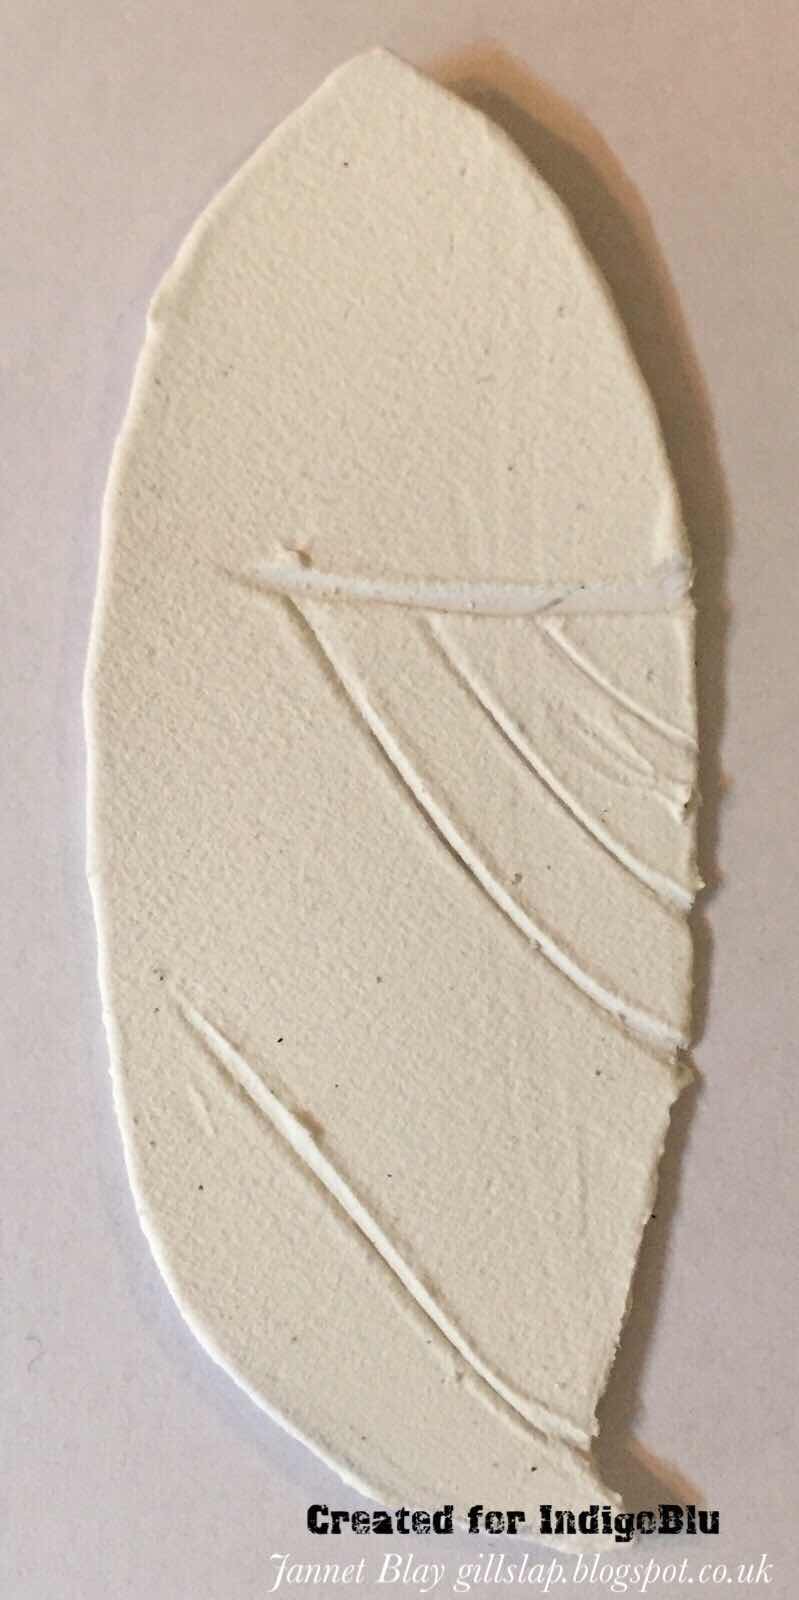
Well this lovely hare is back again! This time on an oval canvas, I think I purchased it in the Tiger store back in the day when we could go to the shops! Well I know we can go to the shops now, but we have decided not to. After being told to stay at home for over a year, I’m not going out shopping now when we sadly have a new variant nearby, even when  I’ve had both jabs. 

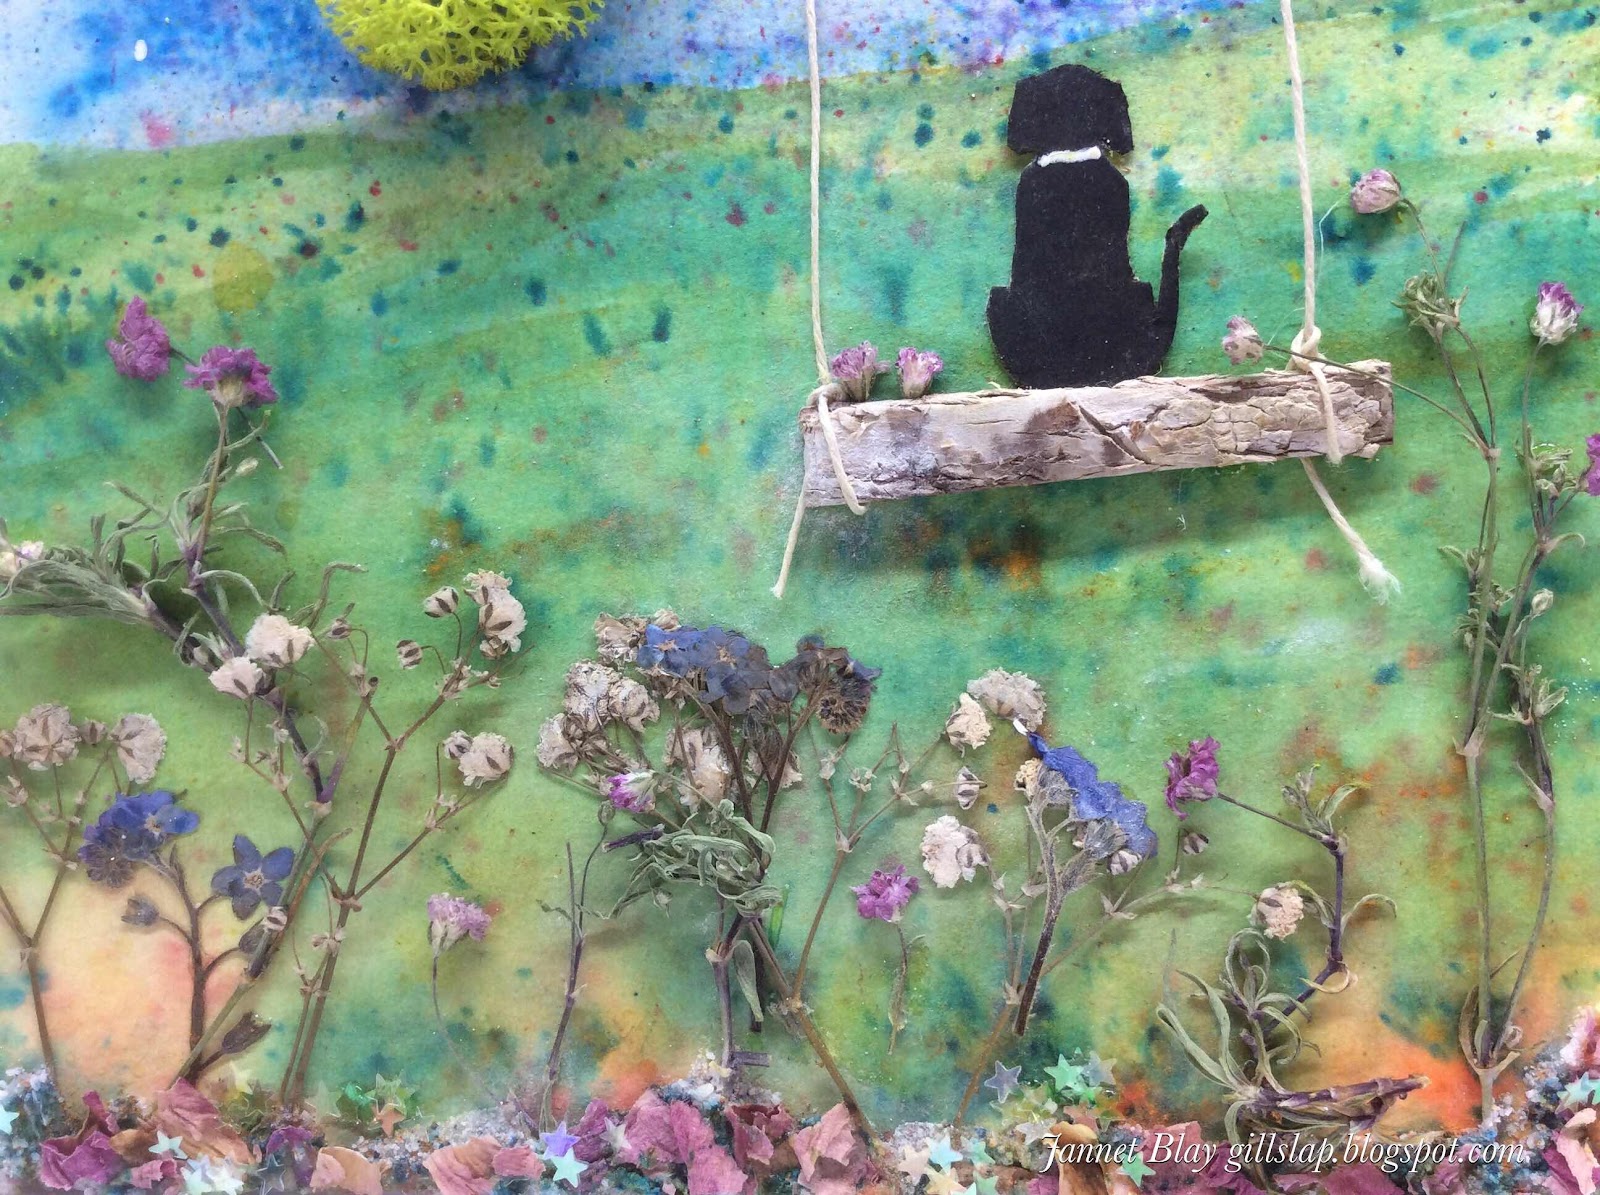
I made this canvas for a challenge on Facebook. I used acrylics, to make the background, and watercolours to colour the hare. I also used some of my chipboard toadstools which I’ve been hanging onto as they are too nice to use, but I actually managed to use them ! It is silly to hold onto things, it’s fun to use them and then you can just  buy more :  )

I’m not sure what everyone else is going to do about the feedburner for blogger, I started to follow the instructions and it said to download 1,391 something subscriber  addresses most I suspect are spam. I didn’t want to do that, and you have to be so careful with other peoples data because of the data protection act of 2018. You can’t use or pass on peoples emails to others.There seems to be more and more problems with blogger every day, blogs seem to be old hat now  and most things are on social media. 

Thank you for stopping by, stay safe xx

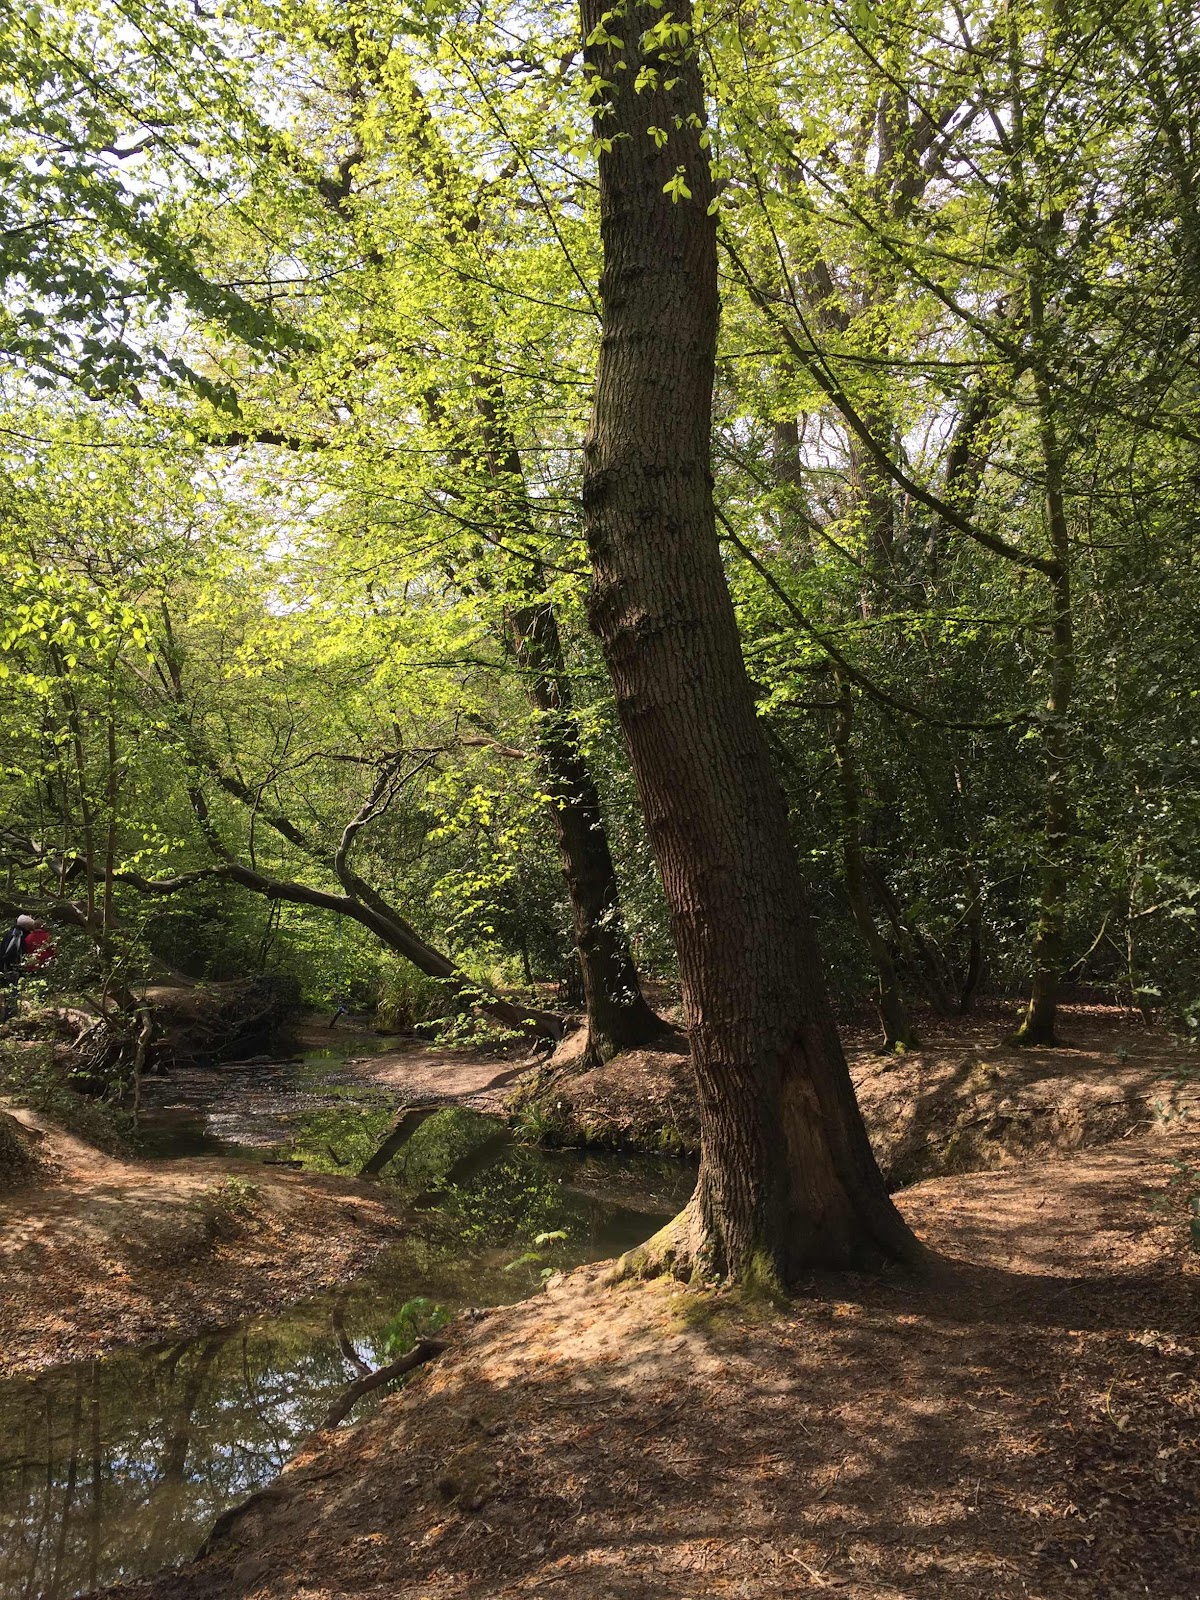
The forest at the bottom of our road, looking forward to the weather improving, so we can go for a stroll.


16 May 2021

A Good Hare Day!


Hello how are you? I recently decided to treat myself to this lovely stamp set. I love hares, and this one seems to look as if he has a rather mischievous little character. I am sure I will be using him a lot. 
 
As always I water coloured everything, and this time  I also did a lot of masking for the toadstools etc. 

Please Stay safe this new Indian variant seems a real worry. xx 
 
I would like to enter my card into the following challenges   
Paperbabe Anything Goes challenge,
Chocolate Baroque Bright Sunny Colours 

22 Mar 2021

Reflecting


Hello, I hope all is ok with you. Here in the UK tomorrow is the National Day of Reflection. It will be a year since our first lockdown, and we will be remembering all those who have sadly died from this horrific virus.I am not sure of the exact number now, and I dread to look it up. 

I have like so many others spent a year stuck at home, only going out to attend medical appointments. 

 I have recently been spending my time going through my stamp collection. Which was rather overflowing! I ended up with quite a collection of surplus stamps, which I gave away on facebook. I also came across the first stamps I ever owned which were some lovely wooden Classic Pooh ones. So of course I couldn’t resist having a play with them.


I used them in this little mint tin, which I altered into a little 100 Acre Wood Scene.


I used decoupage papers to cover the tin, and added a little Pooh and Piglet punch out which is also quite old! 

We will never forget the precious lives lost.
Stay safe xx


20 Apr 2020

Tree House Escape


Wouldn’t it be nice to escape to your own personal tree house! I can’t manage to do  that, but I have built a miniature one over on the Calico Craft Parts Blog. I hope you can climb the ladder and come and visit me there, Take care, hugs xxx

10 Feb 2020

Valentine Animals Printers Tray


I am so happy to share my first project as a member of the very talented Calico Craft Parts Design Team. I love animals so I couldn’t wait to paint these lovely mini sized animals. This is the first printer tray I have made, it was really easy and fun to put together. The animals left their muddy paw, and hoof prints  all around the edges! (Hero Art stamps)

All of the details about how I made the Valentine Tray are on the Calico Craft Parts Blog

Wishing you a very happy Valentine’s Day, thank you so much for visiting xx

I would like to enter my Valentine Animals Printer Tray into the following challenges.


6 May 2019

Wish Upon A Star


Hello how is your winter going ! Well it feels like winter here! Let’s hope the warmer spring weather arrives soon.

I was  thinking of warm summer evenings when I created this small canvas. I used a lovely new stamp set from Hero Arts called “Wish I Might” . I actually like the way this canvas came out, which is a very rare event, as I don’t like a lot of the things I make. 

I used Brushos to create my starry sky and the grassy ground. After stamping the doggie with black versafine , I fussy cut him , of course being very careful not to nick him! A trimmed piece of little bark made a nice seat for his swing, and I  tied it up to the tree branch with thin string. I finished by embossing stars,  and the sentiment to the sky and adding  pressed flowers to the garden. I have a lot of pressed flowers, the Forget-Me- Nots are finally coming up in the garden so I will be  collecting and pressing them soon. 


I also crumbled up some dried petals and adhered them to the bottom of my canvas  along with a few little stars to add some extra magic

I hope you like this little magical canvas, and let’s hope that the  sun and magic will arrive with us all soon. 

Thank you so very much for paying me a visit. Take care xx

I would like to add my Wish Upon A Star canvas to the following challenges.


23 Feb 2019

Birth of Spring


Hello how are you today? Hopefully Spring is not too far away, and this little one is ready to welcome it’s arrival!

This cute stamp is by lost coast designs, and I would liketo enter it into their challenge this month 
Hip to be Square

Thank you for stopping by xx

5 Jun 2018

Buzzy Summer Days


I am over on the Indigoblu Blog today with a Summer Days 3d scene.  I hope to see you over there.

Thank you so much for visiting. I would like to enter this into the following challenges.
Craft Stamper Anything Goes
Stamping Sensations Anything Goes
Crafteezee Summer

25 Apr 2018

Emerging Butterfly Into Our Wonderful World


Did you see the lovely Kay on Hochanda tv yesterday?  They had some truly spectacular offers on the beautiful Indigoblu stamps ! If you missed the shows you can still watch them on Hochanda  tv online. I have written a little step by step incase anyone was interested in how I made the card shown above. 

 Butterflies are an excellent example that sometimes changes are good and can even be beautiful.

Indigoblu Stamps Used  :- Victorian GardenAnemone and Daisy  Live,Laugh,Love

Step 1.  I painteWarm Tan paint over my 7x7 watercolour card, while still wet I crumpled up some copy paper and patted it down onto the paper, which left lots of interesting creases and textures.

Step 2. Some thin plastic was next to be used to add some textures. I sponged some Olive waistcoat paint  over the crumpled plastic, and spritzed it with water before laying it down onto the watercolour paper and tapping my fingers lightly over it. It left  interesting patterns.I repeated this process using the Peppermint Tea paint

Step 3. I sketched the outline of a pupa shape and cut around it, and also cut a slit in the middle so the butterfly could escape.


Step 4. I then covered the pupa with texture paste. I used the side of a palette knife to score some markings on the pupa.When dry I painted it with Peppermint Tea, and Olive Waistcoat paints.


Step 5. After stamping and embossing  half of the butterfly in Black, I lightly added some colour to her using Grandmas Teacup and Lemon Meringue paints.I fussy cut the lovely butterfly and slotted her into the pupa.


Step 6. Black embossing powder outlined the flowers from the Anenome set and the leaves from the Live, Laugh,Love set very nicely, and I coloured them with the Marshmallow, Wimberry Pie and Pantry White paints. When dry I fussy cut all of the flowers and leaves. I then added some shape by curling the leaves and petals around a pokey tool,  which gives them a more natural look. 

Step 7. I stamped and embossed “Let Your Dreams Be” sentiment from the Victorian 
garden onto the background.I flicked several colours of paint over the picture to add some little dots of colour and interest. 

Step 8. As my blank card was white,  I edged the watercolour paper using a black ink pad so it would stand out nicely.

Step 9. A real twig was perfect to hold the leaves and the pupa.I used sticky foam pads to adhere the pupa, leaves, and the flowers which completed the picture.


Step 10. To make the card stand out when it landed through someone’s door, I Stamped some flowers onto the corner of the envelope. 

Thank you for visiting, I hope you managed to get some of these gorgeous stamps!

I would like to enter my Emerging Buttefly into the Craft Stamper Take It Make It  Challenge and the 

My Blog Giveaway 
If you would like a chance to win and all of the goodies in the picture below just click here : )


5 Mar 2018

Stamping on Rose Petals


I always seem to be finding pressed flowers inside of books, so I actually decided to carefully take them all out and lay them in a box  together. Some of my rose petals were quite large, and I wondered if I could stamp on them.... so I decided to experiment and the result is above it is all made from pressed rose petals and leaves. There are more details on the Indigoblu blog.


Thank you so much for visiting me today, I hope you are well, and are having fun crafting.

I would like to enter Stamping On Rose Petals into  the following challenges.


5 Nov 2017

Snowy Feathers


I was thrilled when I had the winning bid on eBay for this darling Indigoblu Robin. I knew my parents would love him so I created this plaque especially for them. For once I was actually pleased on how it turned out, so I decided to use the same idea to make a card. You can read the details about  how I made the card on the Indigoblu blog.

I hope all you Christmas craft creations are going well, thank you so much  for visiting.

I would like to enter Snowy Feathers into the following challenges.

Craft Stamper

5 Jun 2017

There Is Always Something New To Discover


Well the summer has finally arrived !  I am celebrating by making a mini book full of flowers, and all things nature . Nature has always been a huge inspiration in my art. This is one of the tags in my mini book and I have also been experimenting with recycling gift cards, so please stop by the Indigoblu blog to see more.


I would like  to thank all of my crafting friends for asking about me after the latest terrorist attacks in London. I am ok, I live about 17 mikes from the recent attacks.

I took this photo of London Bridge at around this  time last year.


I would like to enter this tag into the following challenges


Products Used


2 Nov 2016

Autumnal Loom


I added some Indigoblu Luscious pigment powders into a water filled spray bottle and shook it gently to mix.The pigment powder leaves a lovely sparkly sheen on the paper


I sprayed the watercolour paper and also added some watercolours in Autumnal shades. I stamped the sentiment from IndigoBlu's Live,Laugh,Love Stamp Set, using a metallic inkpad in Mineral.

I decided to create a Nature loom and weave it with beautiful leaves, berries etc from the forest, along with my chosen sentiment.I used twigs for the frame and created the loom with string.


I hope that you will enjoy creating something for this months challenge.

I would like to enter this into the following challenges

Artistic Stamper Autumnal

Emerald Creek Heartfelt, Freedom, Festivities

Products used


20 Oct 2016

Pooh is 90 years old Commemorative Frame


Our Silly Old British and Much Loved Bear Winnie the Pooh, became the grand age of 90 on 14th October 2016. So I made this Enchanted Place to commemorate the occasion.

My Blog is called The Enchanted Place after the Enchanted Place in the Pooh stories by A.A.Milne.I Love, Love, Love Classic Pooh by E.H.Shepard and A.A.Milne.

I made this before I had the op on my finger, the good news is I am slowly getting movement back.I hope to be back crafting again soon!

I cut the template above in card and covered it in Modelling Paste, dabbing it with the spatula to raise it up a little. When dry I used Hot Coca and Peppermint Tea paints to cover it.

I found the silhouette of Classic Pooh and Christopher Robin online and printed it out. I then traced the outline and transferred it onto black card and cut it out.I adhered their feet to the top of the hill.

The frame was an inexpensive wooden frame, which I covered in Flitterglu and Chocolate Box Megaflakes.

I painted some card with Grandmas Teacup, Wimberry and Iced Gem paints. I cut it to fit the inside of the frame. I used black Archival ink to stamp the Pooh sentiment from the Caitlin Stamp set in the top right hand corner of the card.

I found some black number stickers in my bulging old sticker box, and I covered them with Megaflakes.

I picked some twigs and herbs from the garden and coated them in Slap it On. When dry I adhered them to the hill and the front of the frame.

Many Happy Returns Pooh!

Thank you for visiting, I hope to see you again soon

I would like to enter this into the following challenges.

Stamps and Stencils Elements of Nature

Craft Stamper Autumnal Creations

Products I used


 photo copyright.jpg
blogger template by envye