Showing posts with label embossing. Show all posts

6 Sept 2022

My wish for you is every good thing


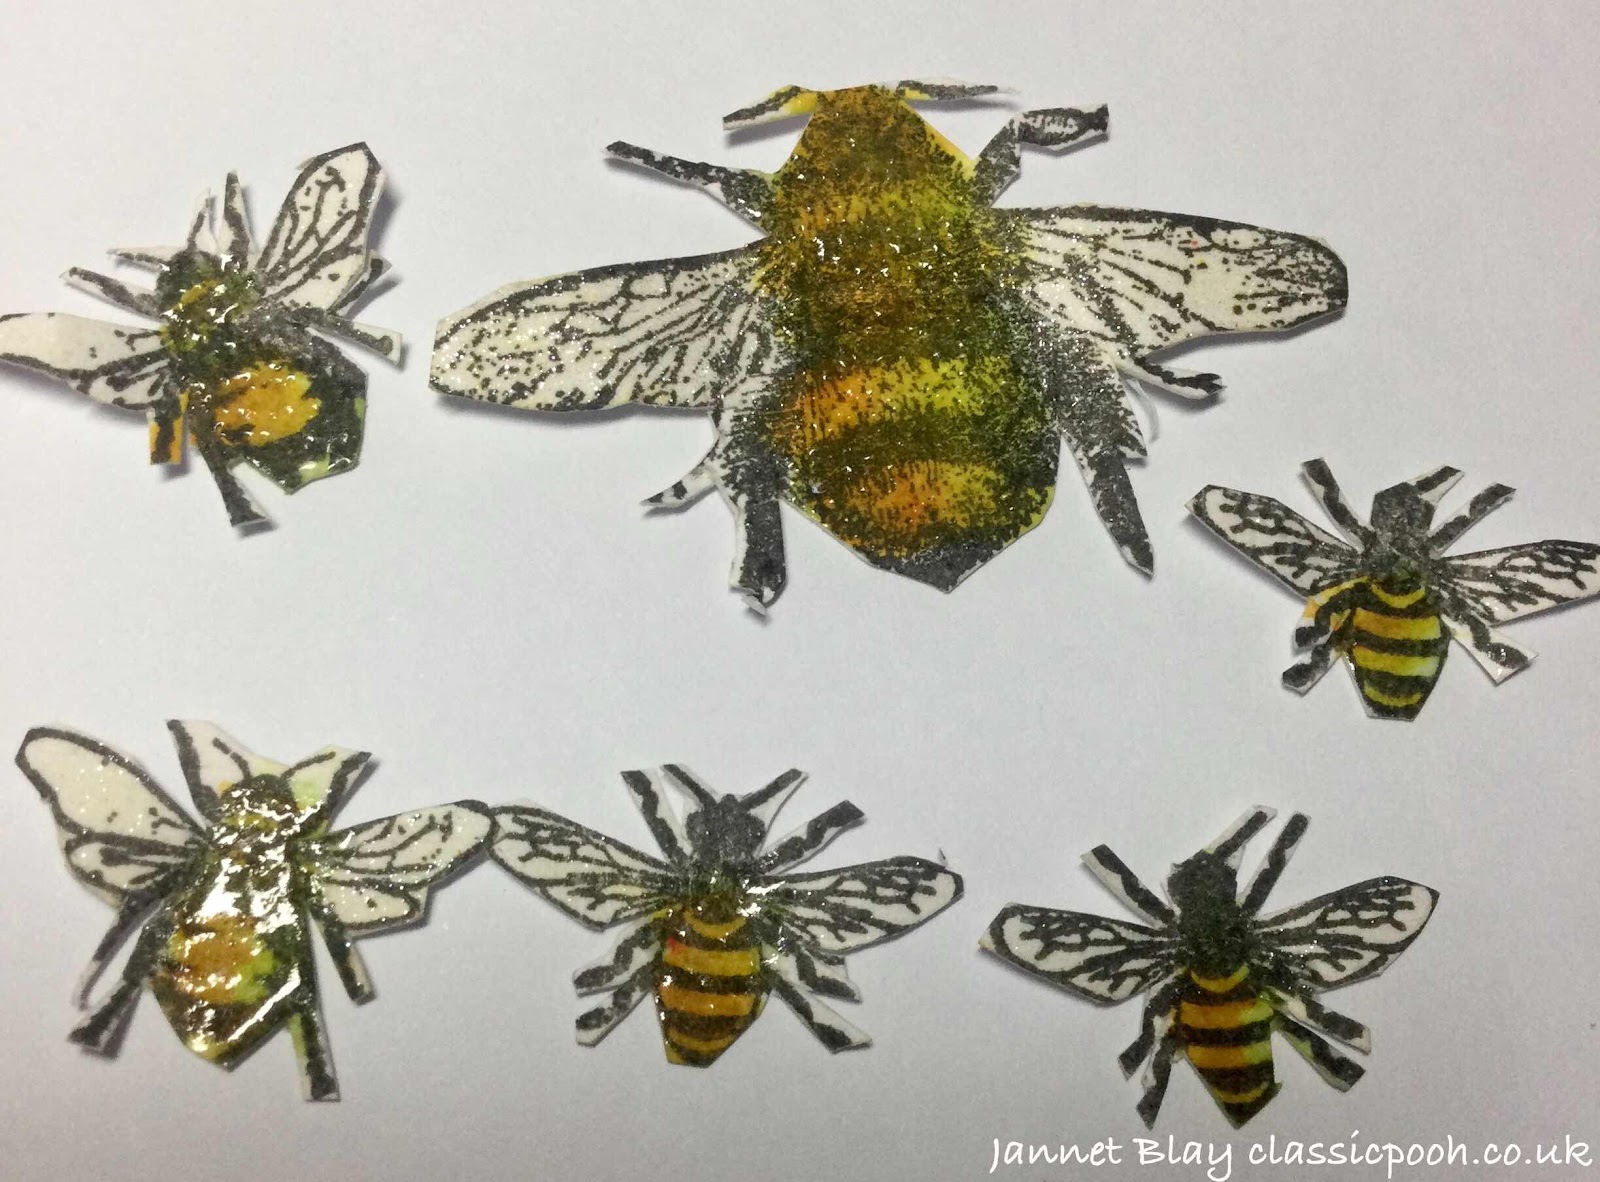
Hello, how are you? Today I am playing with a new stamp which I received as a birthday gift from a friend - MFT Fairy Best Friend Stamp. It is a lovely set with little fairies and flowers, and the most lovely sentiment. As they are small I immediately thought of using them on artist trading coins, as I make a lot of coins to swap. 


If anyone is new to the coins, I thought I would write the details on how to make them, or at least how I make them!


Artist trading coins are always a 2.5 inch circle. You can choose what to cut it from, a lot of people recycle  food packaging which is a wonderful idea. I usually like to watercolour mine so I cut them from watercolour  paper. I am hopeless at keeping the backs clean so I use regular card to cut another circle to go on the back. 


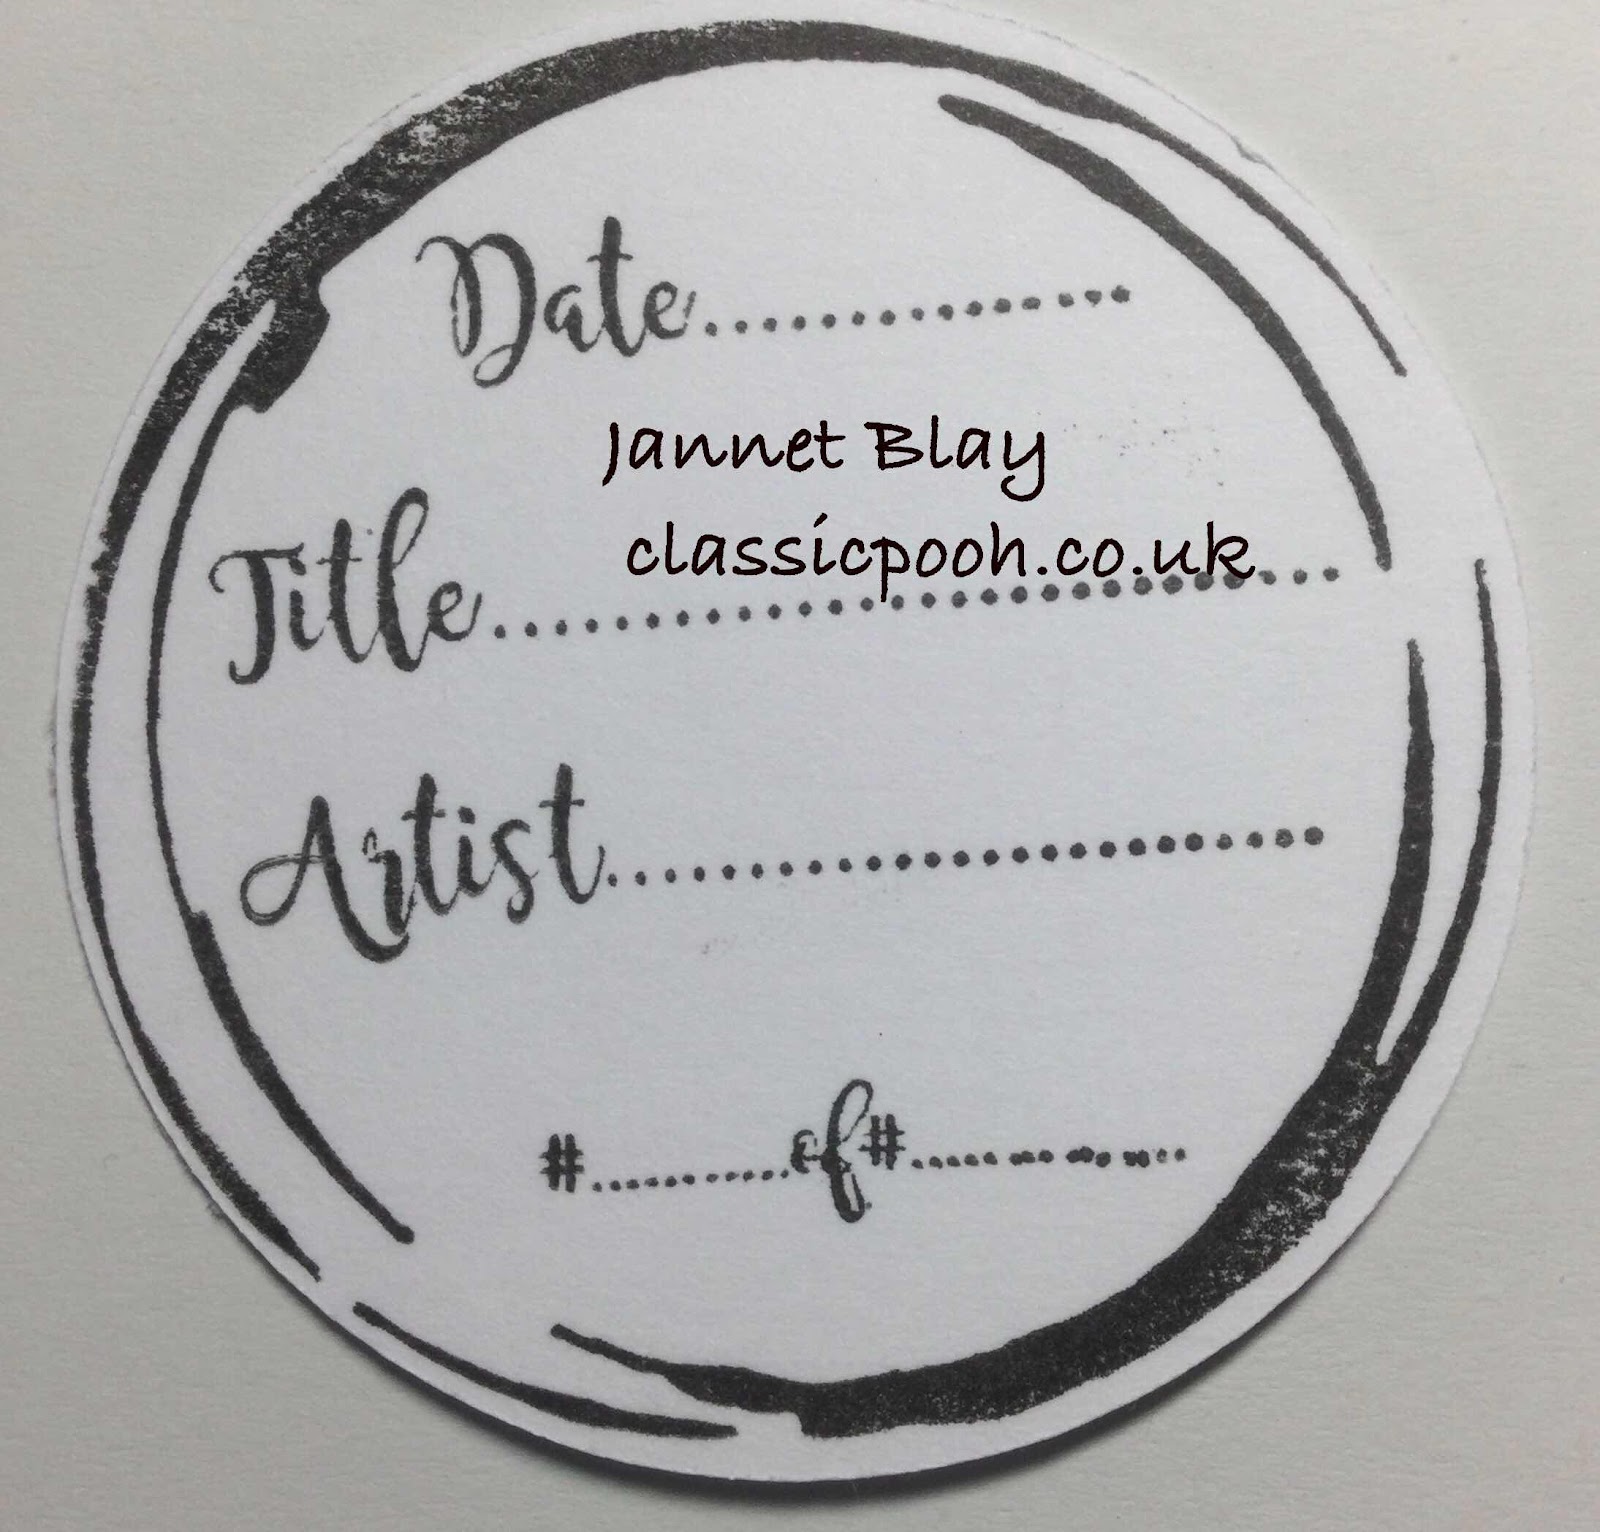
On the back of the stamps you write your name, date, the title of your coin and the number of how many you have made. If you made 3 you would write 1 of 3, 2 of 3 etc. There are several stamps available which are made especially to stamp on the back of coins, but you can easily write all the information  yourself.


I began by water colouring a background, but of course you could use any medium. I love the sentiment “My Wish For You Is Every Good Thing” I stamped and then embossed it. 


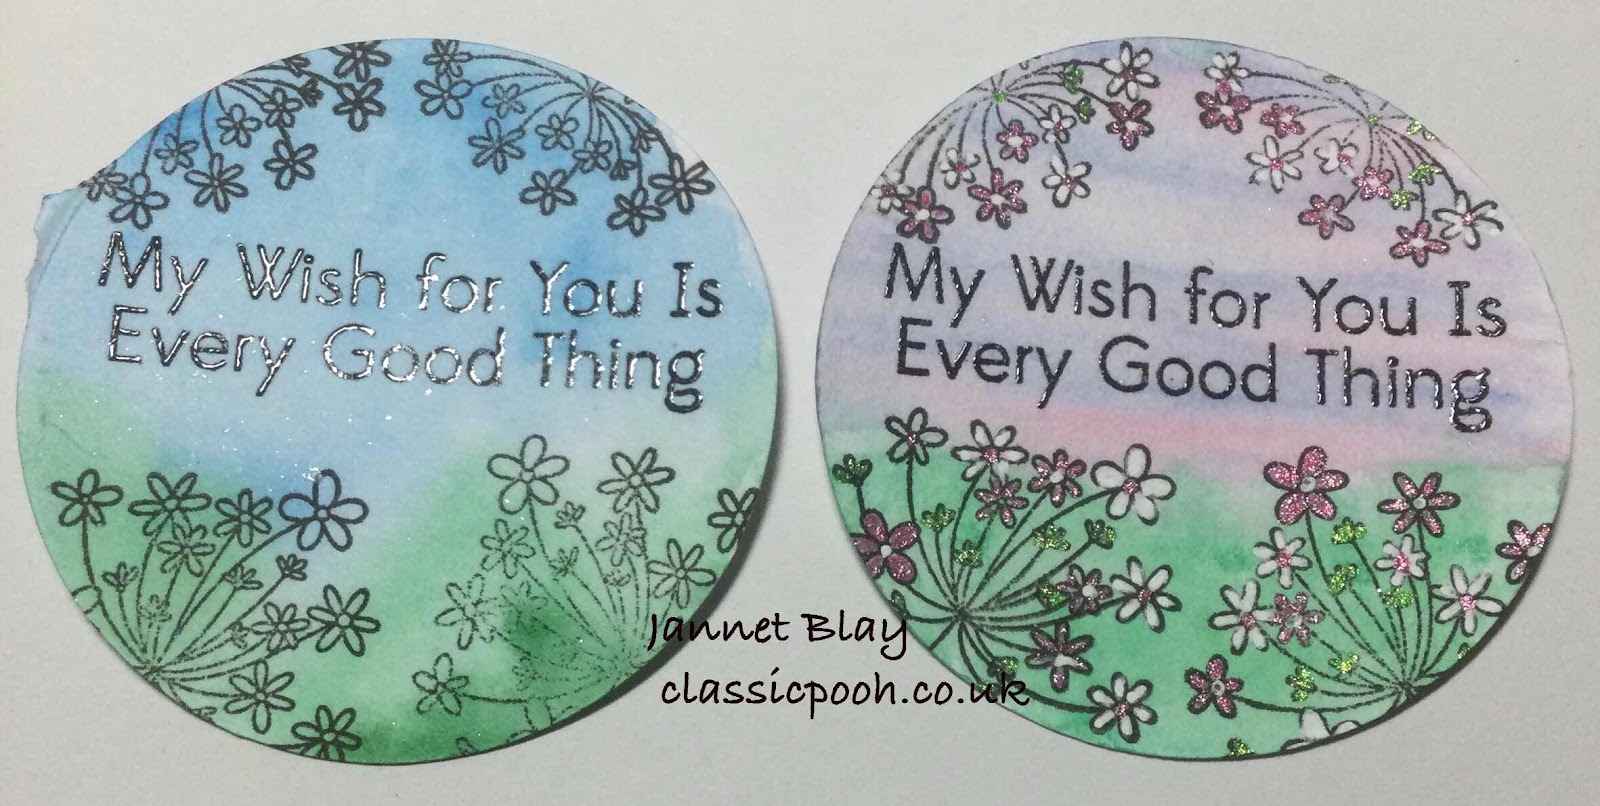
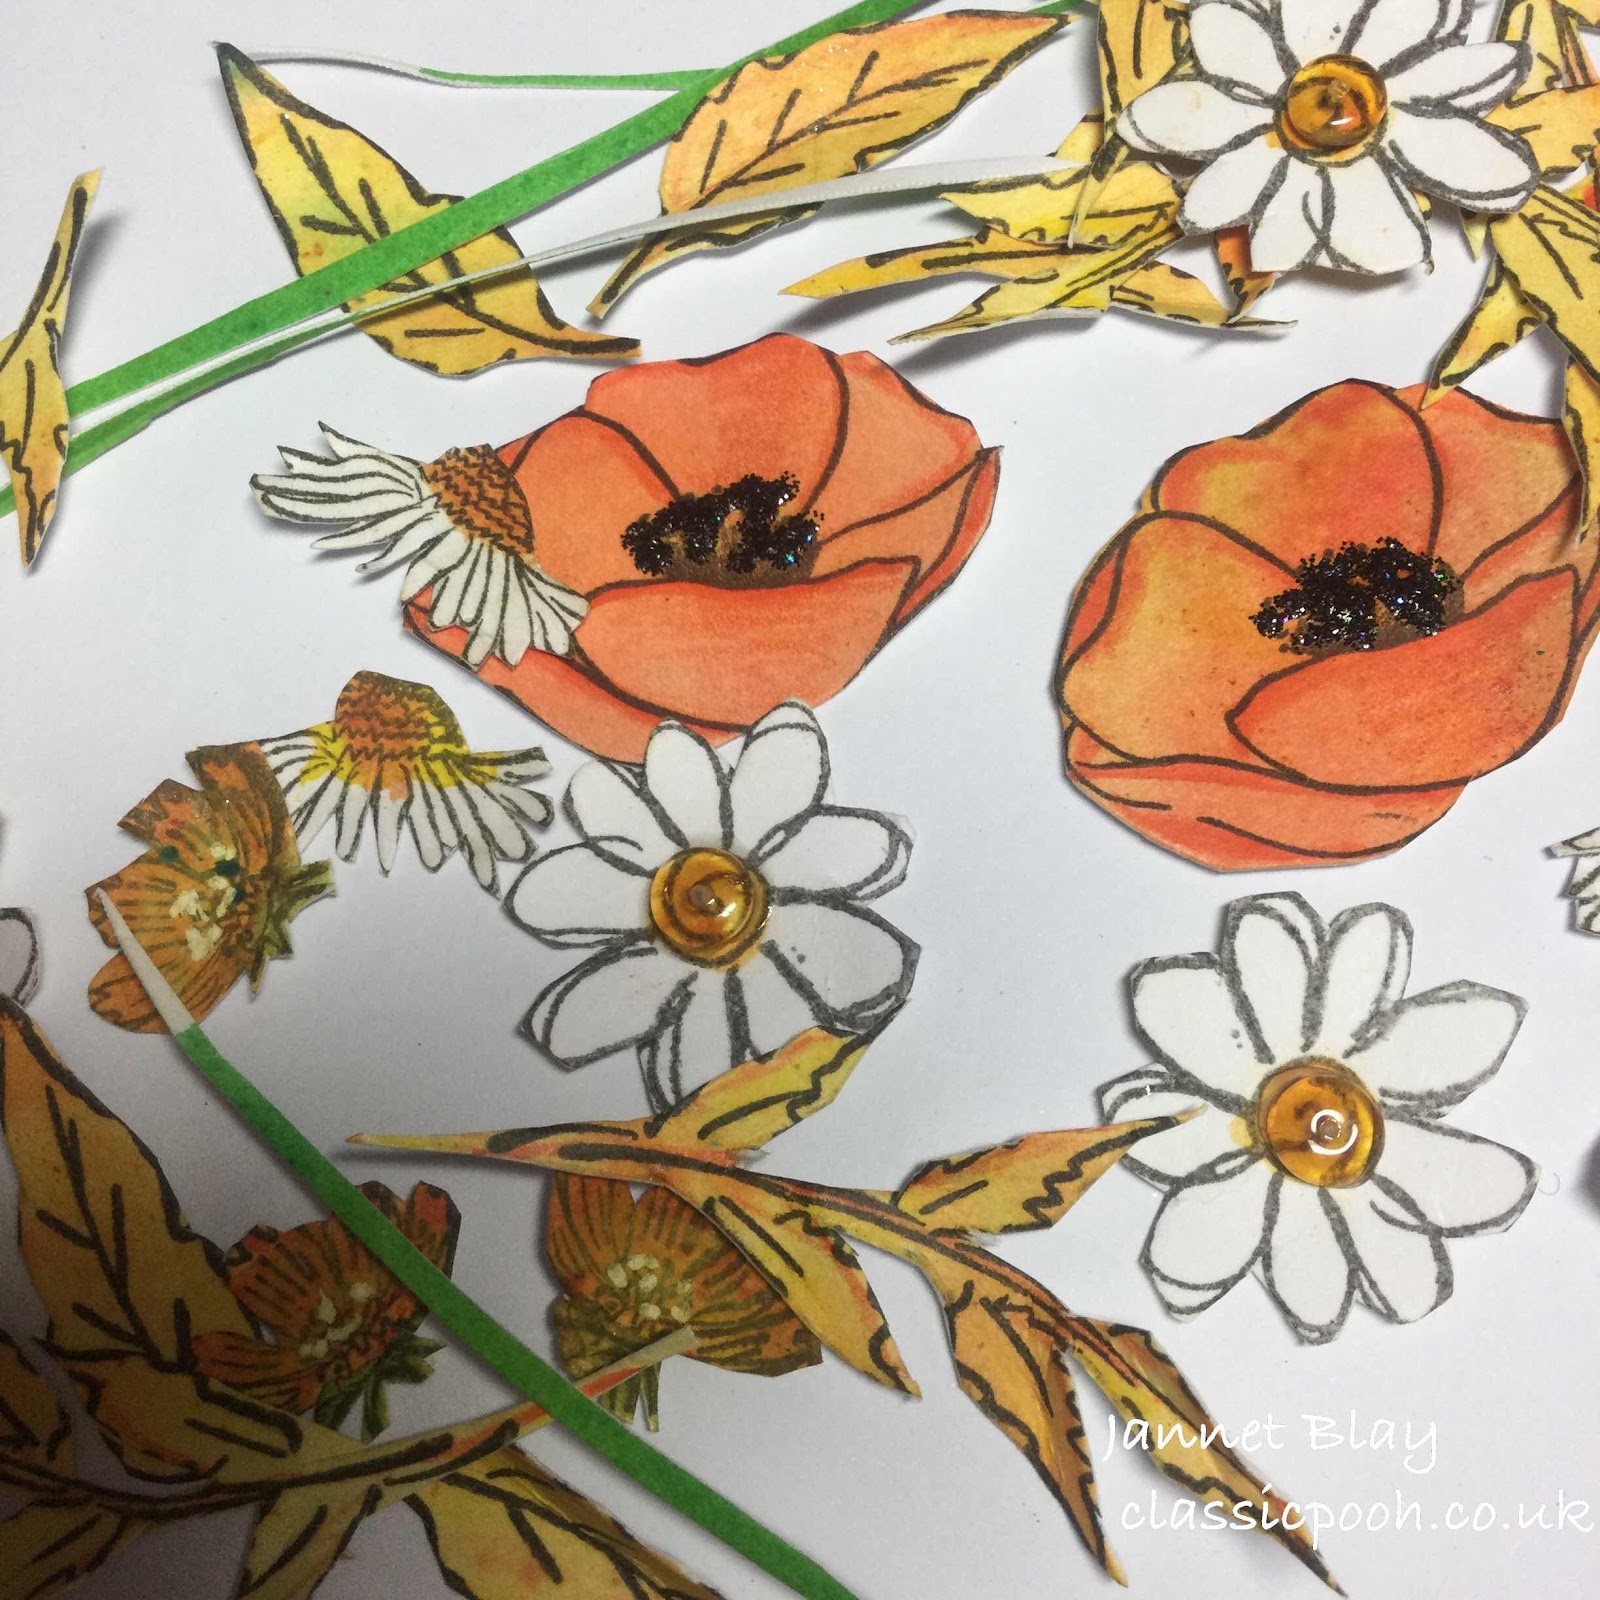
I then stamped some of the flowers from the set around the edges of the coin, and used glitter gelly pens to colour them. 


After stamping and water colouring, I fussy cut the cute fairies, not forgetting to add magical glitter their wings. I adhered them to the coins using  3D sticky pads.You can use any theme to create your coins, the possibilities are endless. 

They are now all ready for me to swap, I have made some inchies using this stamp set too.


I hope these little details have been helpful to anyone new to making coins. 
Thank you so much for visiitng. Take care and stay safe xx

I would like to enter my My Wish For You is Every Good Things into the following challenges. 


16 Aug 2021

Disabled abuse is not ok.


Hello how are you today? I am not sure what has happened to the summer, we had a few nice sunny days in July, but now we seem to have descended into Autumn.
Today I am sharing a picture, I am not sure if it will be a large card or a picture to put on the wall. 


I began by cutting  a 17.78cm square from a watercolour sheet, I used a pale yellow wash all over, followed by yellow and lemon brushos on the edges. I somehow managed to get a bit of an orange blob onto it, but it doesn’t look too bad and I will cover it up later. I stamped and clear embossed  honeycomb from Artistic Stamper around the edges. 


I drew my silhouette ( not exactly wonderfully) and die cut it. It does not die cut very well at a smaller size. I think because the spokes on the wheel are so delicate. I have cut out a few if any of my crafty friends  would like one please contact me.


I stamped bees from Indigoblu and Artistic stamper, after water colouring them, I clear embossed their little bodies, and added glitter to their wings. We have had a lot of bumble bees in our garden this year, which is lovely. 


I stamped and fussy cut a selection of flowers and leaves, all of them were water coloured and fussy cut. I used black stickles in the centre of some, and a clear beads on the centre of others. I slightly shaped some of the flowers and leaves (after I took this photo). 

I used  decoupage pads to adhere my silhouette, words, flowers, and added a few gems, and sequins too. 
I finished by edging the picture with black. 

Stay safe xx

I would like to enter this into the following challenges 


6 May 2019

Wish Upon A Star


Hello how is your winter going ! Well it feels like winter here! Let’s hope the warmer spring weather arrives soon.

I was  thinking of warm summer evenings when I created this small canvas. I used a lovely new stamp set from Hero Arts called “Wish I Might” . I actually like the way this canvas came out, which is a very rare event, as I don’t like a lot of the things I make. 

I used Brushos to create my starry sky and the grassy ground. After stamping the doggie with black versafine , I fussy cut him , of course being very careful not to nick him! A trimmed piece of little bark made a nice seat for his swing, and I  tied it up to the tree branch with thin string. I finished by embossing stars,  and the sentiment to the sky and adding  pressed flowers to the garden. I have a lot of pressed flowers, the Forget-Me- Nots are finally coming up in the garden so I will be  collecting and pressing them soon. 


I also crumbled up some dried petals and adhered them to the bottom of my canvas  along with a few little stars to add some extra magic

I hope you like this little magical canvas, and let’s hope that the  sun and magic will arrive with us all soon. 

Thank you so very much for paying me a visit. Take care xx

I would like to add my Wish Upon A Star canvas to the following challenges.


9 Mar 2019

ATC coins


Hello, I hope you are having time to enjoy your crafting,  and all is well with you. I have made only one set of ATC coins before, which I enjoyed.  Lost Coast Designs have an ATC Challenge this month so I thought it would be an ideal time to make some more. UK Stampers also have an ATC coin swap every month so I thought I may take part. It is always scary sharing your work with others, fingers crossed they will be liked.

I used distress Oxides for my background and embossed the little hare and tree, and used an embossing pen to draw in a hill. I use WOW embossing powders they always seem to give the best result for me. I added some little glitter dots in pink, blue and white to add some enchanting sparkle. I have ordered an ATC stamp to go on the back of the coin to add all my info to, so when it arrives it will be a challenge to stamp it on accurately! 

I am entering my ATC coins into the   Lost Coast Designs Challenge 

Thank you for stopping by xx

5 Feb 2018

Love Letters


I must apologize for not posting very much so far this year, but I have been in hospital. I am feeling much better now and I am happily back to crafting and getting all inky : )

Well February has snuck up on us, and that of course means all things love for Valentines. For my first Indigoblu project this month I decided to decorate these wooden letters, unfortunately I didn’t have a matching ”O” but I found a slightly larger papier mache one. I hope it works.... a few more details as are on the Indigoblu blog.

Thank you so much for stopping by today, I hope you are well and having lots of fun crafting. I have lots to catch up on. When I was resting I enjoyed watching all of the Creativation videos, it looks like there is lots of lovely new goodies coming out soon.I have never tried distress oxides, I really must, the new Tim Holtz resist spray looked interesting too. Did you spot anything, you are hoping to try? 

I think I am getting the hang of the followers button thingy now, and I am happily following lots of blogs. Thank you and a very warm welcome if you have become a follower, I hope that you will enjoy your visits. Please leave me a comment as I would love to visit your blog too xx


There is still time to win some fabulous Indigoblu stamps, click here for more information.

I would like to enter my Love Letters into the following challenges.
A Vintage Journey Melt it - Lots and lots of embossing powder on the letters!
Penny Black Love, Hearts, Flowers
Stamping Sensations Anything With Flowers

18 Jan 2018

Floral Notebook


Hello, and if this is your first time here a very warm welcome to you! I hope you will enjoy your visit, please leave me a comment as I would love to visit your blog too. I hope you have escaped all of the nasty winter bugs going around, I am so looking forward to the spring! 
Today I would like to share my Floral Notebook with you, which I created for Indigoblu. Indigoblu make amazing, unique and very high quality rubber stamps which are all manufactured right here in the UK. Their new floral stamps are just gorgeous and are a joy to colour !

This is how I created my notebook. 


I removed some pages from an old book, this one happened to be “Wind In The Willows” I tore the pages into large strips, and adhered them  to both sides of the  notebook covers using Super Thick Slap It On.


Using a Versamarker ink pad I stamped the flowers and heat embossed them with brown embossing powder.
After colouring the flowers with Indigoblu paints I fussy cut them.I added some Mulberry Bush (this is my new favourite colour) paint to the edges of the notebook.I used sticky foam pads to adhere the flowers to the cover.I also added some pressed flowers to the cover.


I tied ribbons and twine to the book rings, and then stamped the anemones on the bottom of each of the inside pages.


Please visit the Indigoblu blog to see Mike Deakin’s Project this month too

Thank you for visiting.I would like to enter this into the following challenges
Country View Challenges Anything Goes 


If you would like a chance to win these fabulous 4 Indigoblu stamps just click here to find out more

5 Dec 2017

Christmas Moon Bauble


Hello December is here already! How are all of your crafty Christmas creations going? I am over on the Indigoblu blog today, making some Christmas Moon baubles. There is a step by step and pictures of different bauble designs.

We look forward to seeing you.

I would like to enter my Christmas Moon Bauble into the following challenges. Thank you

Noors Design Anything Goes

 Emerald Creek Anything Goes

18 Nov 2017

Let It Snow


I expect you have started creating your Christmas/Winter cards, how is it going? Has the glitter travelled everywhere! I have made a fairly quick and simple card to share with you today, using two gorgeous Indigoblu stamp sets Winterland Wood and Sparkle and Glisten.


A Stroke of Midnight is the perfect paint to create a night time scene. I masked  the bottom of my picture and painted the rest.I used the trees and gorgeous deers from the Winterland Wood Stamp set and used versamarker to individually stamp them onto the card. I followed with white embossing powder, and then heat embossed each of them.

I painted some grassy snow around the deer's feet, and then removed the masking tape to reveal a clean edge. Any escaping splotches can be covered with a dot of snow in the next step!


Some snow is definitely needed, so I splattered some white paint over the scene. I always think it is easier to add a small amount  of paint to the brush and gently flick the bristles, to create little snow flurries.

 The sparkle and Glisten Stamp set has some lovely Christmassy sentiments which are  perfect for cards. I selected “Let It Snow” and stamped it onto the bottom of the card using the stroke of midnight paint.


A larger snowflake would look nice in the corner so I die cut one, and painted a gem to match the background and then centered it onto the flake.I also added a little Die Cut star to the top of one of the trees.

I finished my card by stamping another sentiment from the Sparkle and Glisten Stamp set inside of the card.

Thank you so much for visiting today, I hope you will give this simple card a try.

I would like to enter Let it Snow into the following Challenges.
Craft Stamper Anything goes with Stamping
Artistic Stamper Use a Quote


5 Oct 2017

Drifting Into Autumn


It seems my hopes for an Indian summer are well and truly over, as we find ourselves drifting into Autumn.October is full of crisp golden leaves fluttering from the trees, so I decided to try and recreate that scene for my  Indigoblu project this month. I recycled some items, and foraged Mother Nature for other Autumn treasures.

A step by step tutorial is on the Indigoblu blog.

Thank you so much for visiting, and happy Autumn !

I would like to enter this into the following Challenges

Stamping Sensations Autumn Glory

Products Used

23 Jul 2017

Underwater Mini Book Cover


I have always loved seahorses so when I saw 49 and Market's gorgeous Sea and  Sand paper pad, I knew it would be perfect for my mini book to scrapbook the few days I recently spent at the seaside.Then I saw they had matching seahorse stamps ! So of course I just had to get those too!


I decided to use the front cover of the pad as my mini book cover and covered it in gesso, then I had my doubts as it got a bit soggy poggy, but luckily it was ok when it dried out. I made a a background with watercolours and used embossing powder in olive for the seaweed. For the air bubbles I embossed some with clear and others with white. I watercoloured the lovely seahorses and stamped Indigoblu's bubble stamp all around the edges and heat embossed them  in white.


I finished off by spreading some bead gel over the bottom of the cover.This was my first play with the stamps and I am looking forward to using them again.


Thank you so much for stopping by, I would like to share this with the following challenges.


19 May 2017

Tammy


My beloved Golden Retievers name was Tammy, her kennel club name was Tamara Anwen.Tammy was born in Wales and Anwen means very beautiful, which she was. Of course Tammy is also a song famously sung by Debbie Reynolds in the Tammy films.

I printed the music onto some canvas paper and heat embossed some heart balloons and the word Love, in a marbling pink embossing powder. Tammy used to love ballooons and she could hold them in her mouth without bursting them! I edged the paper with pink and brown inks.


Both the Dog and Angel are wooden stamps and must be well over 10 years old! I stamped the wings on vellum and embossed them with white embossing powder, and fussy cut both the wings and doggie.I watercoloured the doggie.

 T

I sat Tammy on some white net and added lots of beads and sequins onto the netting and background. 
I adhered a strip of fabric lace at the bottom and rolled up some of the lace to form a flower, and popped a little pink button in the middle.

Thank you so much for visiting.

I would love to enter this into the following challenges.

Frilly and Funkie The Sound of Music 


Words to Craft By Party Time balloons always mean party time !

12 Apr 2017

Raindrops on Roses and Whiskers on Kittens

 
I made this card especially for the current challenge at Fashionable Stamping This months theme is to use the first verse from  "My Favourite things" from The Sound of Music. Of  course ever since reading this I  have been singing that song - luckily for everyone else I have only been singing it in my head!

"Raindrops on roses
And whiskers on kittens
Bright copper kettles and warm woollen mittens
Brown paper packages tied up with strings
These are a few of my favourite things"

I thought about what stamps and whatnots I had  to fit in with the theme. I decided to use a Kraft card for the brown paper packages, and tied a raffia ribbon for the string. For the raindrops I used a versamarker pen on a raindrops stencil, and then followed with clear embossing powder. I don't often emboss as I am unable to reach the electric plug, but someone put it on for me today, so I embossed away! I used a cat stamp for whiskers on kittens, and a window outlooking onto a rainy day. I drew a vase and a rose, to encompass the rose in the song.I added a "Happy Rainy Day" sentiment at the bottom.

It is a bit of an unusual card but my Mum is a Sound of Music fan, and she said she would like it!


 photo copyright.jpg
blogger template by envye